Did you try the new Androapp release for wordpress mobile app plugin yet ?
We recently released an interesting feature called parallax effect in 6.0.9 release.
What is Parallax Effect ?
it is the effect when background image moves at a different speed than the rest of the content. read more about parallax effect here.
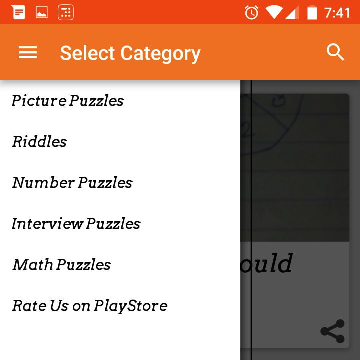
Demo
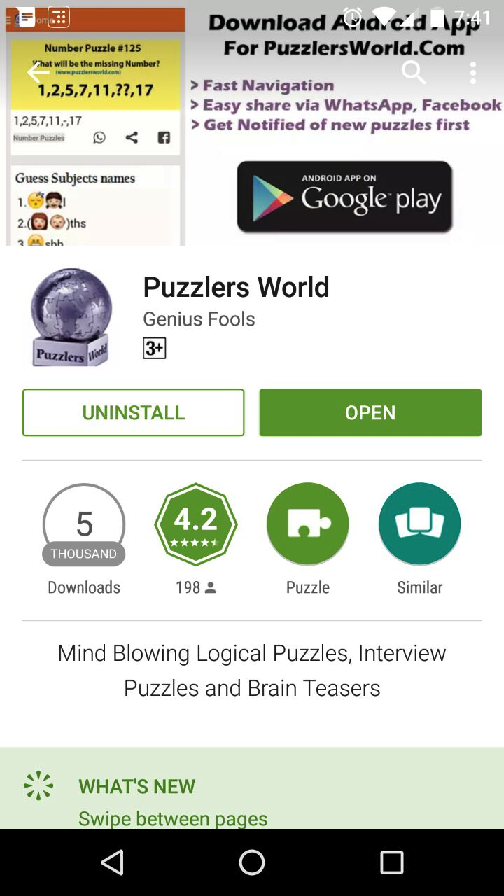
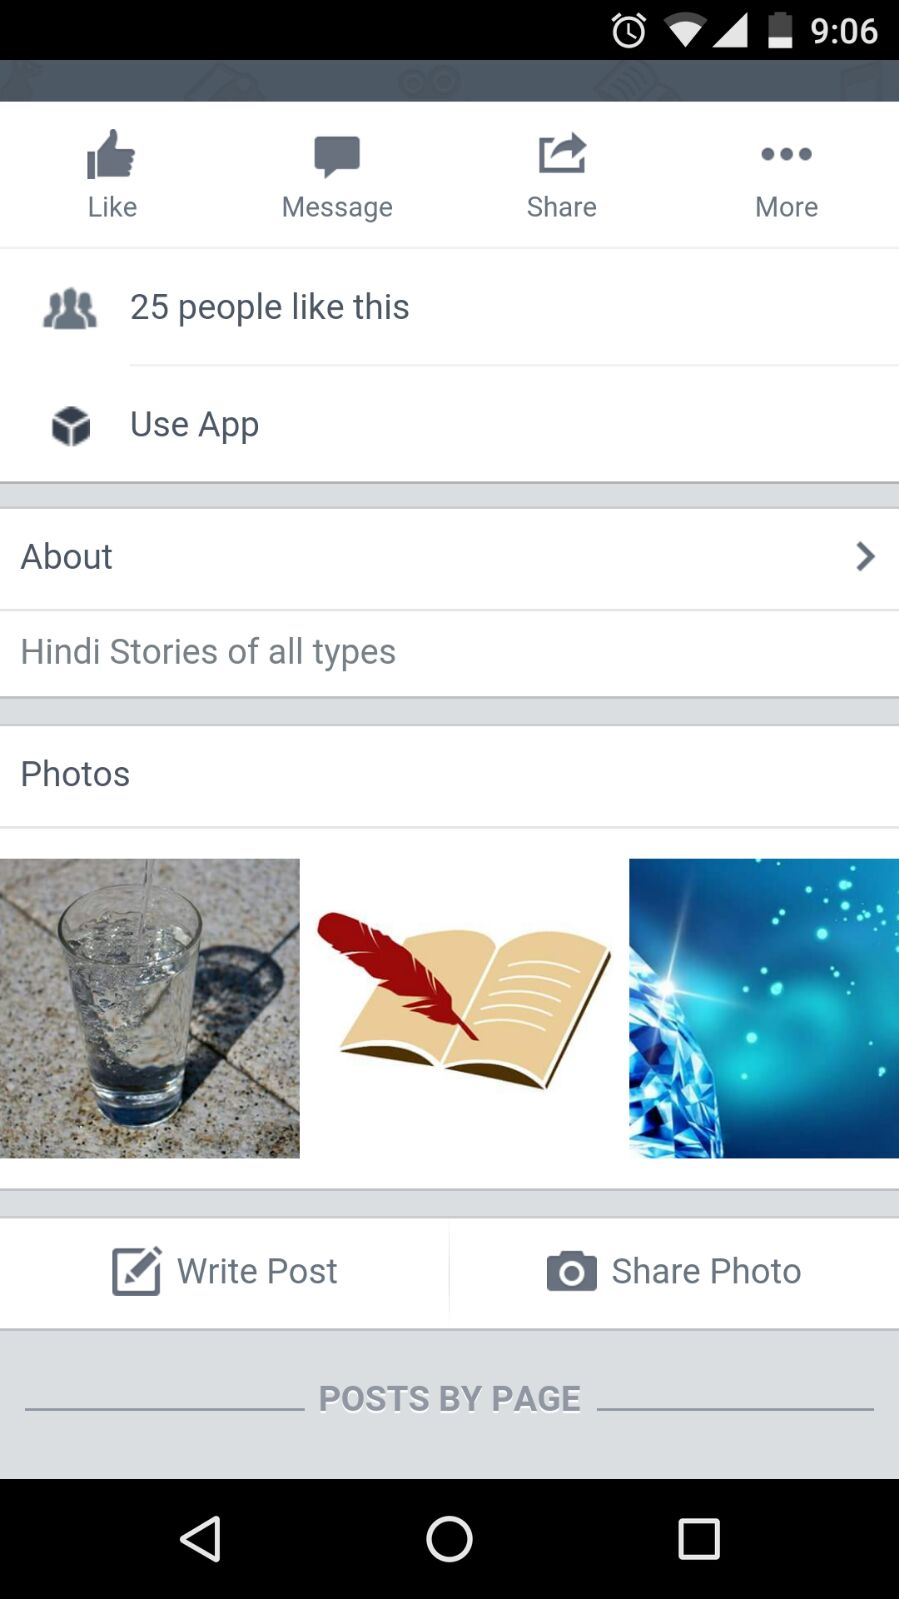
here is the demo for one of the app

try it out live by installing it from play store: https://play.google.com/store/apps/details?id=mobi.androapp.storytal.c2123
How to get this feature on your app?
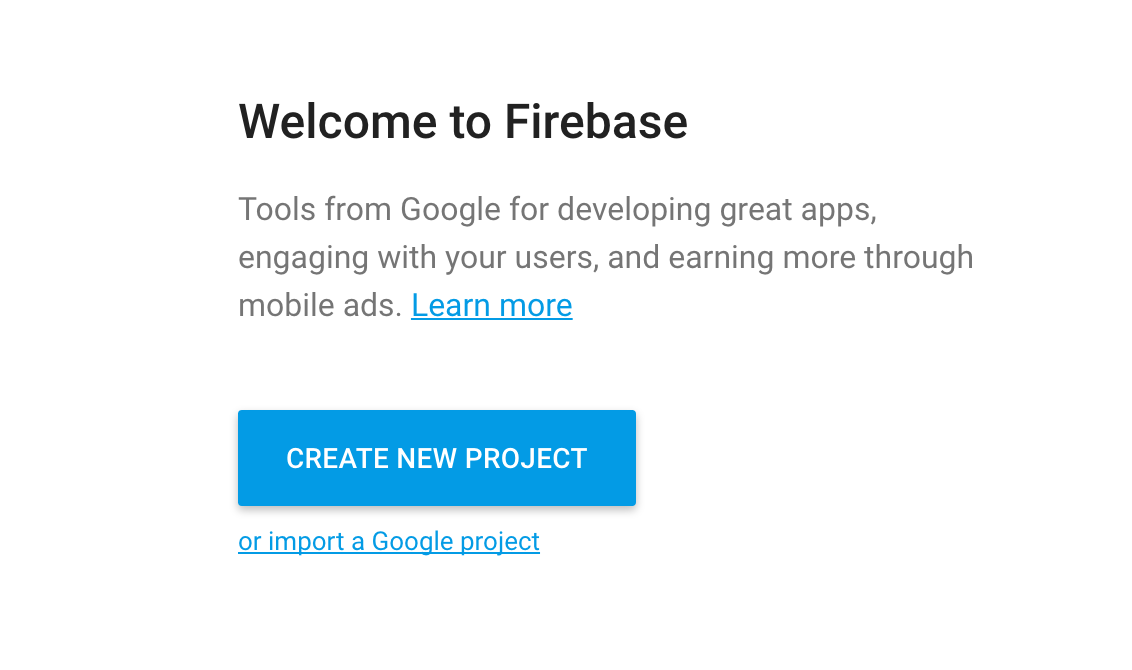
If you use featured images for your posts than you can install AndroApp WordPress plugin and create Android App for your wordpress blog in minutes.
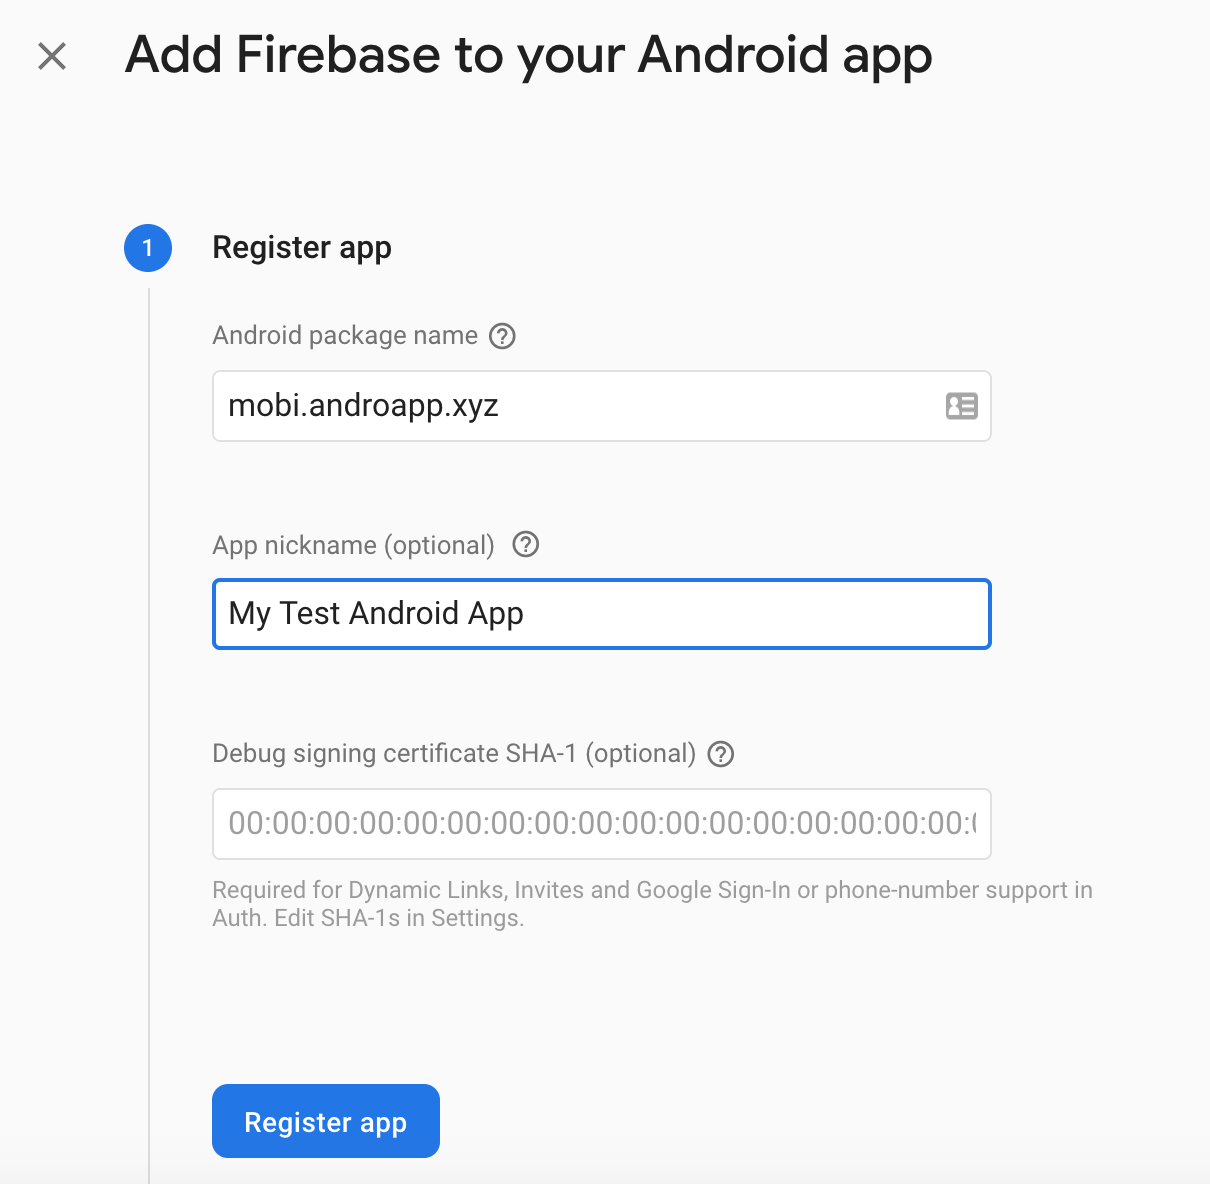
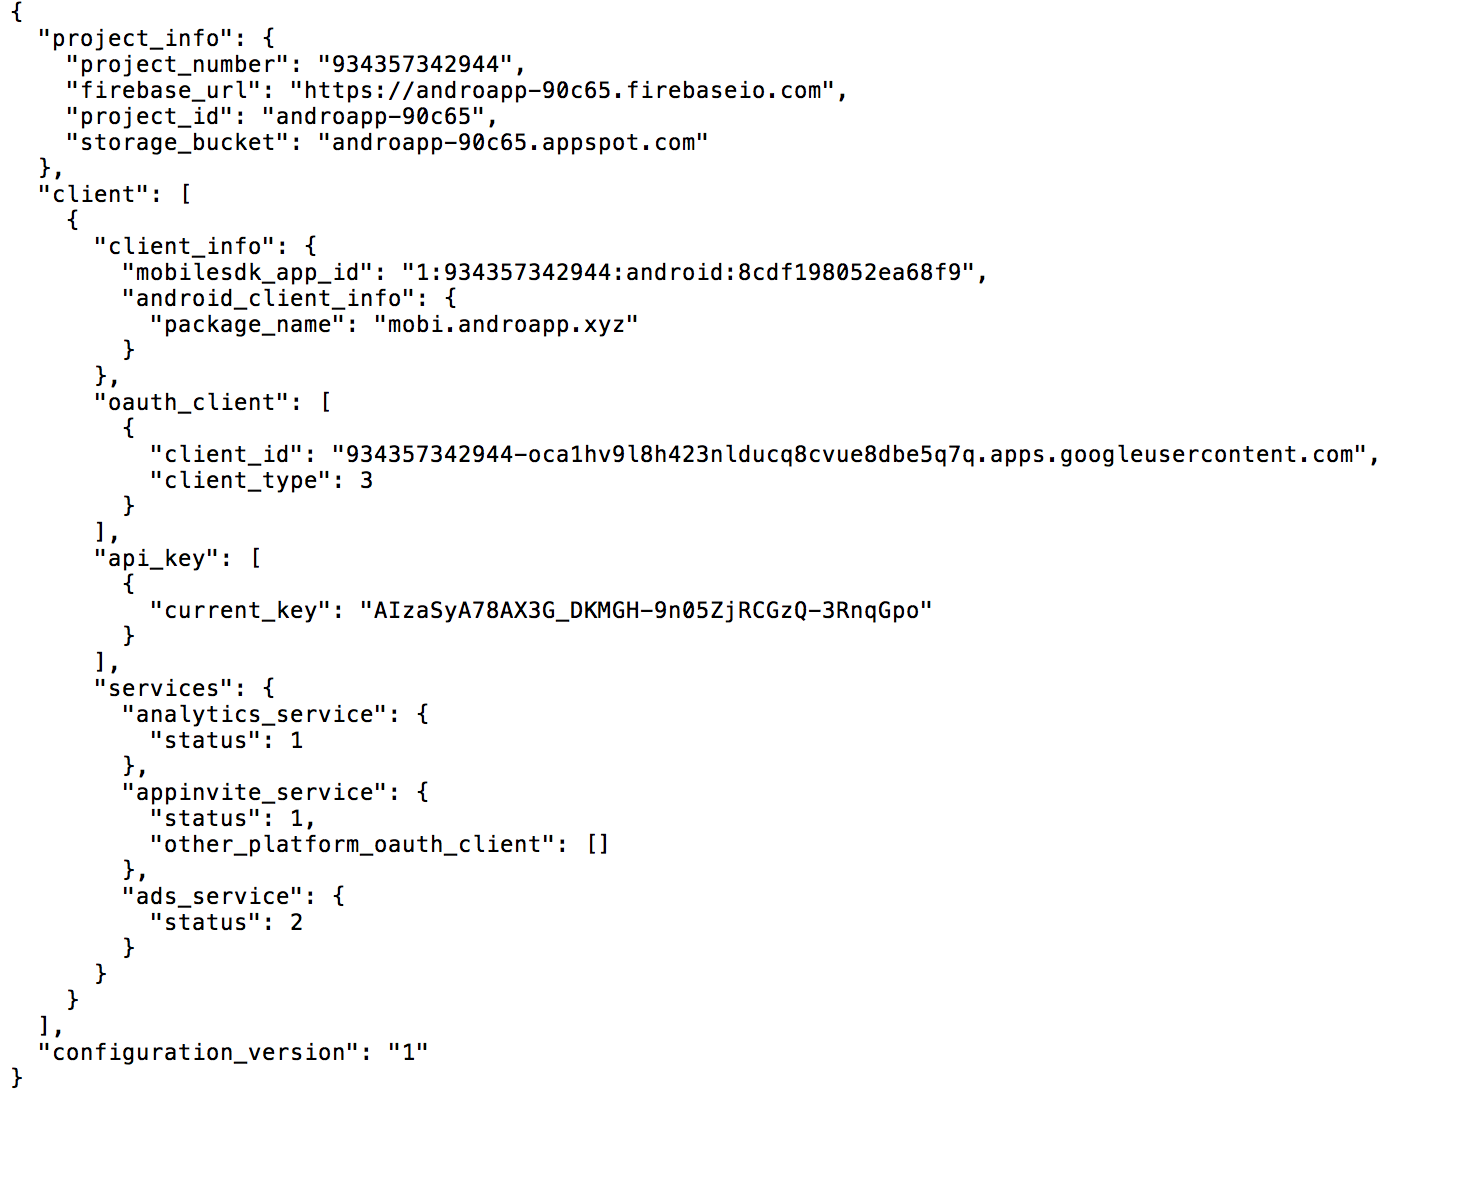
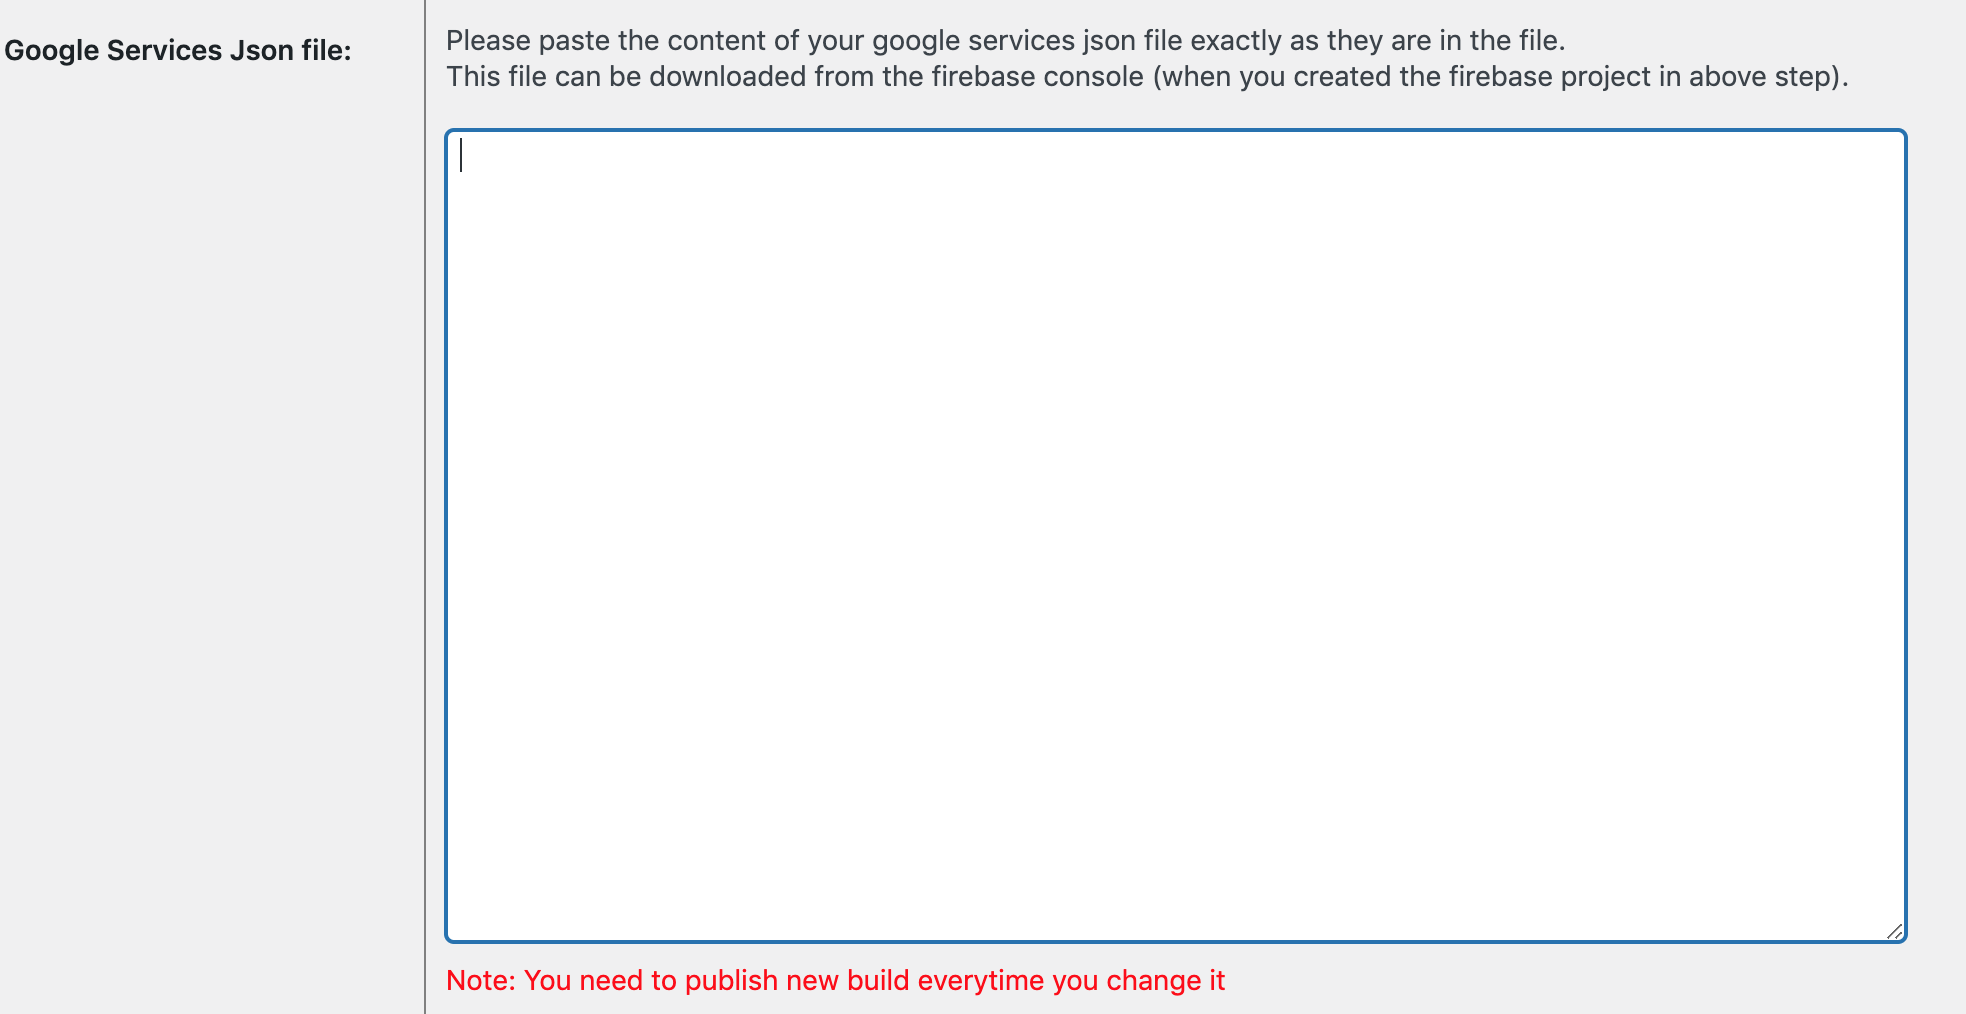
If you are already using the plugin, update the wordpress plugin, create new apk, test your apk on your phone and publish this apk to google play store from developer console.
Just in case, You can enable/disable parallax effect for your mobile app from AndroApp->Configure page